
Introduction
This guide covers how I set up Kali Linux as a virtual machine on my Mac using Parallels Desktop. I'll walk through downloading Kali, configuring the VM, installing Parallels Tools, and getting everything updated and ready for security testing.
Install Parallels Desktop
Parallels Desktop is a great virtualization solution for Mac.
- Download from the app store
Create a New Virtual Machine
- Open Parallels Desktop and go to the Control Center.
- Click the + (plus) button or select "Add" to start a new VM.
- Choose "Download Ubuntu, Kali, or other Linux distributions" (or similar wording—Parallels may update this menu).
- Find Kali Linux in the list of available distributions and click Download.
- Parallels will automatically download the latest Kali image and set up the VM for you.
- Follow the prompts to finish the installation (set username, password, etc.).
Configure the Virtual Machine
After the VM is created, I like to tweak the settings for better performance:
- Memory: 8GB recommended
- CPU Cores: 4 recommended
- Storage: 20GB minimum
You can adjust these by right-clicking the VM in the Parallels Control Center and choosing Configure.
First Boot & Setup
Depending on the Kali image, Parallels might boot you straight to the desktop, or you might see the Kali installer wizard (language, user, partitioning, etc.). If you see the wizard, just follow the prompts. If not, you're ready to log in.
Post-Installation Setup
Update your system (always a good idea):
sudo apt update
sudo apt upgrade -y
sudo apt dist-upgrade -y- If performance is suffering, adjust CPU and RAM allocation in VM settings
Getting Started with Kali Linux (Personal Notes)
Notes on initial setup and exploration after installing Kali Linux in a VM:
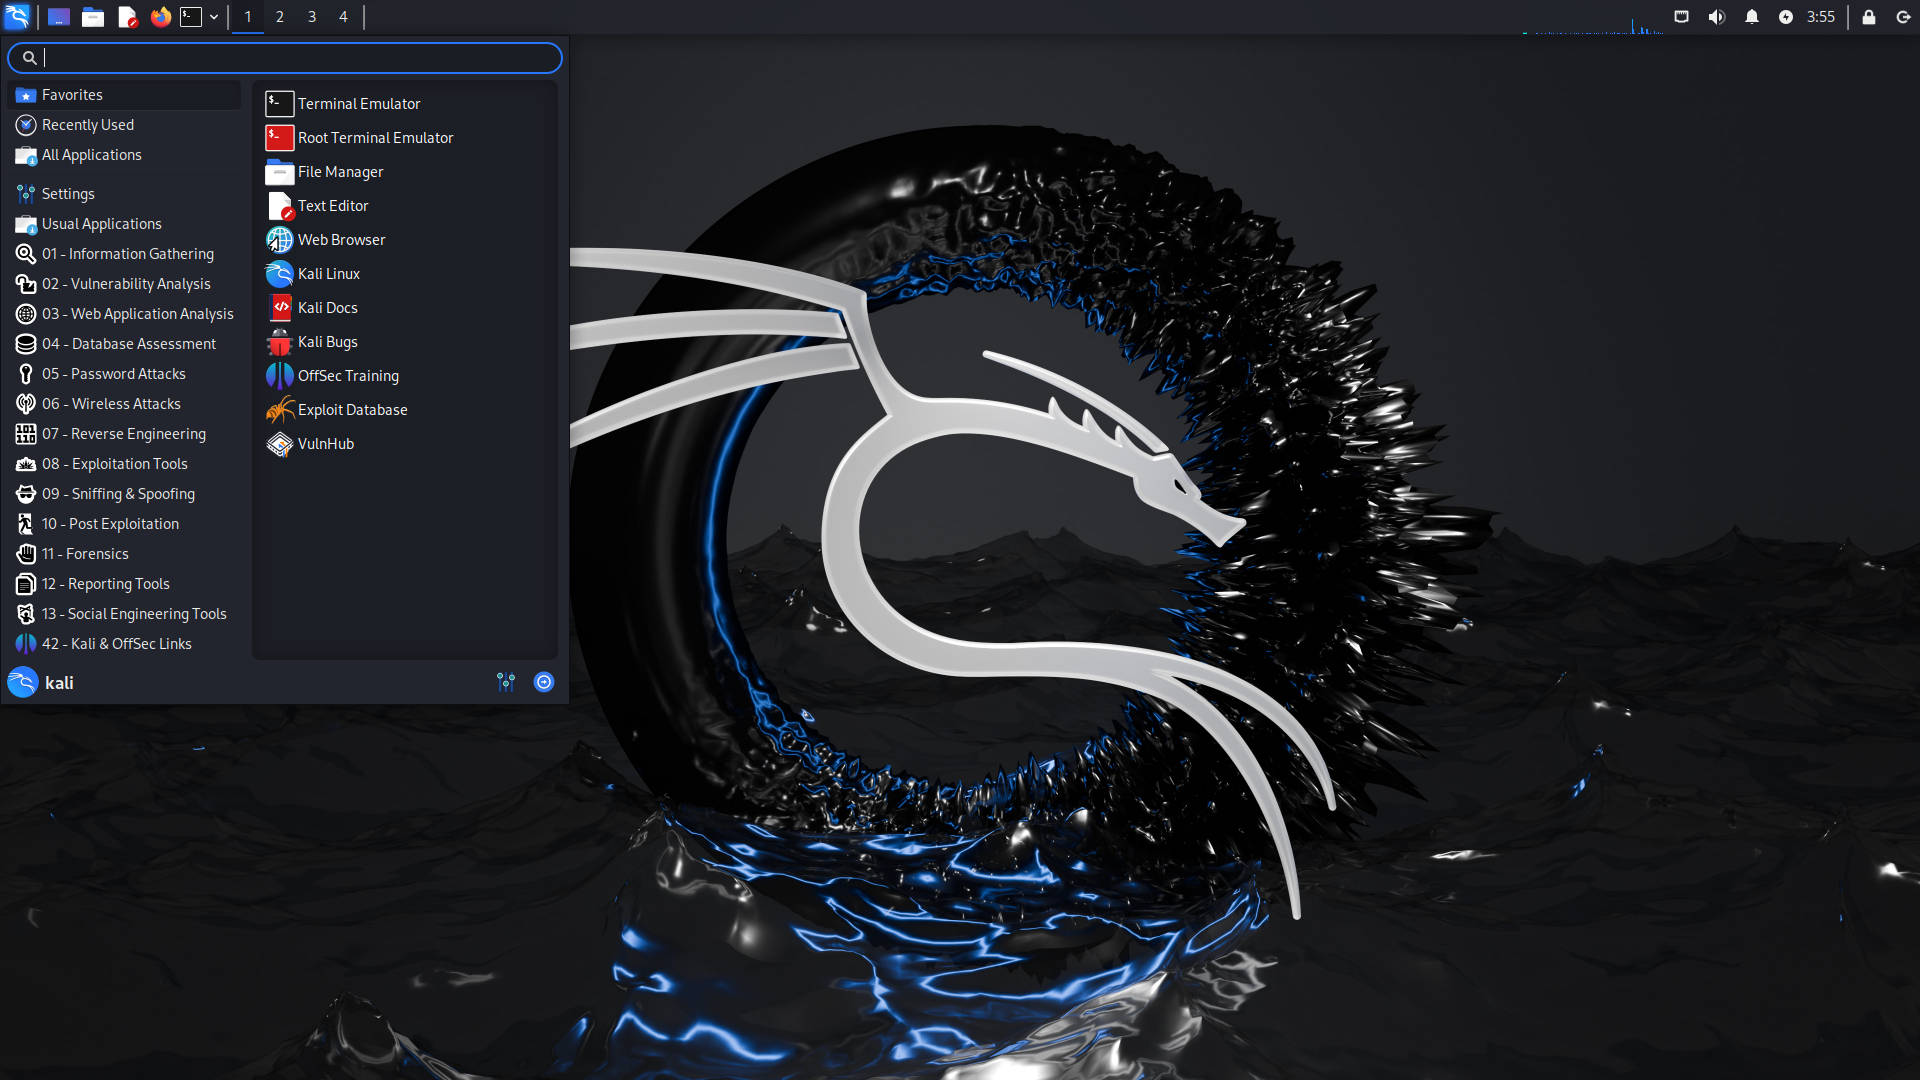
- Interface & Menu: The Kali desktop is organized by tool category (Information Gathering, Vulnerability Analysis, Web Application Analysis, etc.). The main menu provides quick access to most tools.
-
Updating Tools: After install, update all packages and tools:
Best to update before starting any major work.sudo apt update sudo apt upgrade -y -
Terminal Basics: Useful commands for initial exploration:
ifconfig– network infonmap– port scanningping– connectivity testing
-
Popular Tools Explored:
-
Nmap: Used for scanning networks and discovering devices/ports. Example:
nmap -A 192.168.1.1 -
Metasploit: Framework for finding and exploiting vulnerabilities. Start with
msfconsole. - Wireshark: For capturing and analyzing network traffic. Useful for protocol analysis and spotting unusual activity.
- Burp Suite: Web application testing. Can intercept browser traffic and test login forms. Free version is sufficient for learning.
- Hydra: Password brute-forcing tool. Used only on test machines.
- John the Ripper: Password cracker. Demonstrates how password hashes can be attacked (test files only).
- Metasploitable: Intentionally vulnerable VM for testing.
- Nessus: Vulnerability scanner.
-
Nmap: Used for scanning networks and discovering devices/ports. Example:
- Disclaimer: Only use Kali tools on systems owned or with explicit permission.
- Kali Documentation: Kali Linux Docs and Kali Tools Listing are useful for reference.